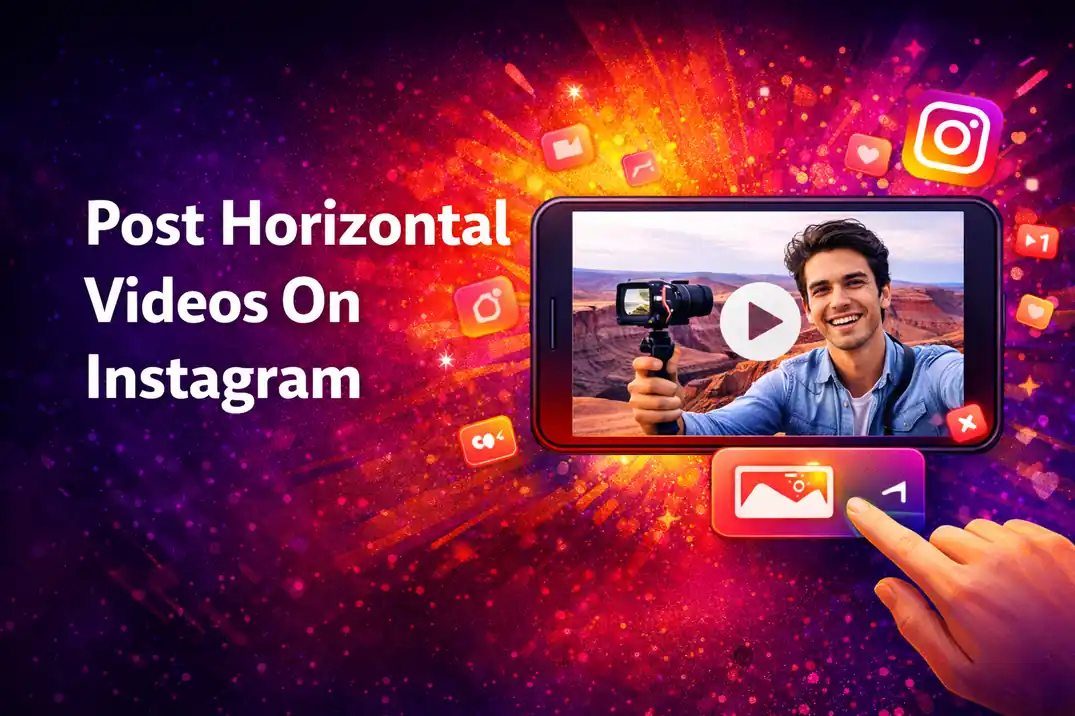
How to post horizontal videos on Instagram can seem tricky at first. You upload your beautiful landscape video, and boom - ugly black bars appear above and below.
I've been there, and it's frustrating. The good news? Instagram actually supports horizontal videos. You just need to know a few simple tricks.
Most people miss one crucial step that makes all the difference. I will show you exactly what works.
Key Takeaways
-
Always choose "Post" instead of "Reel" when uploading horizontal videos to avoid automatic black bars.
-
Tap the expand icon (two outward arrows) in the bottom-left corner to fill the full width.
-
Shoot in 16:9 aspect ratio from the start for optimal quality.
-
Upload path on mobile: Tap "+" → Select "Post" → Choose video → Tap expand icon → Share.
-
Use Posts for horizontal content and save Reels for vertical videos to maximize display quality.
Instagram Horizontal Video Requirements (Updated & Accurate)

Before uploading a horizontal video, make sure it follows Instagram’s current technical guidelines. While Instagram supports multiple formats, landscape videos perform best when posted to the Feed rather than Reels or Stories.
Aspect ratio & resolution:
-
Recommended aspect ratio: 16:9 (Landscape).
-
Supported range: 1.91:1 to 9:16.
-
Recommended resolution : 1920 × 1080 pixels (1080p).
-
Minimum resolution: 720 pixels.
Video format & performance:
-
File formats: MP4 or MOV.
-
Recommended frame rate: 30 FPS or higher.
-
Video codec: H.264 (Best compatibility and quality).
File size & length:
-
Maximum length: Up to 10 minutes.
-
Maximum file size: Up to ~4GB (Varies slightly by device and encoding).

Post vs. Reel for Horizontal Videos
The biggest mistake people make is assuming Instagram won’t default to Reels when uploading videos. However, Reels usually shrink or letterbox horizontal videos. Posts handle horizontal videos much better.
Think of it this way: Instagram reel history shows they were built for vertical content. Posts give you more flexibility with orientation. The app tricks you by opening Reels first, but you can switch.
Use posts for horizontal videos that benefit from a full landscape display and for content you want visible on your main feed grid. On the other hand, use Reels for quick vertical clips, trending content, and videos with maximum reach potential.
The key difference? Posts preserve your horizontal format without those annoying bars. Meanwhile, Reels force everything into a vertical-first display. Choose wisely based on your content goals.
How to Post Horizontal Videos on Instagram (Mobile)
If you’re ready to upload horizontal videos on Instagram without black bars, follow these exact steps:
-
1. Tap the plus icon. Open Instagram and tap "+" at the bottom center. You'll see several options pop up.
-
2. Select "Post" (Critical step). Don't tap Reel. Tap "Post" instead. It is where most people go wrong. The app wants you to create Reels, but Posts work better for horizontal content.
-
3. Choose your video. Select your horizontal video from your camera roll. Instagram will show a preview immediately.
-
4. Use the expand icon. Look for two small arrows pointing outward. The icon appears in the bottom left corner. Tap it to expand your video to full width. So, your video fills the screen horizontally without cropping.
-
5. Adjust your framing. Pinch and zoom to position your video perfectly. You can move it around to capture the best angle.
-
6. Add your caption. Write a compelling caption that tells your story. Then, add relevant hashtags to boost visibility.
-
7. Share to feed. Tap "Share," and you're done. Your horizontal video appears on your feed without black bars.
Pro Tip: If you notice Instagram GIFs not loading while editing your post, close the app completely and restart it.
Increase Your Horizontal Video Performance
Your horizontal video looks perfect now, but getting initial engagement can be challenging. When you buy Instagram likes, you give your content the social proof it needs to perform well.
We offer likes from real accounts with fast delivery, so your video gains momentum right after posting. It works well for horizontal videos since they naturally get less visibility than vertical content.
A strong engagement start helps Instagram's algorithm push your video to more feeds. Higher like counts also encourage more viewers to engage with your content.
Uploading Horizontal Videos from Desktop

You get more control when posting from a computer. To post landscape videos on Instagram using a desktop, you need to:
Navigate to instagram.com and log in to your account. Click the "+Create" button on the left sidebar. Select "Post" from the dropdown menu.
Click "Select from computer" to browse your files. Next, choose your horizontal video and wait for it to upload. The preview shows how your video will appear.
Instagram automatically detects the orientation. However, you can still adjust the cover photo. Use the slider tool to find the perfect thumbnail frame. Pick a frame that effectively represents your content.
Write your caption and add location tags if needed. Click "Share" to publish your horizontal video. Desktop uploads can help preserve quality when files are properly encoded.
Eliminating Black Bars on Horizontal Videos
Black bars ruin the viewing experience. Fortunately, you can eliminate them completely with these techniques:
-
Use the expand icon: The two-arrow button is your best friend. It stretches your video to fill the available width. Most tutorials skip this crucial detail.
-
Choose the right aspect ratio: Shoot in 16:9 from the start. Editing later reduces quality. Your phone's camera app lets you select this ratio before recording.
-
Avoid vertical cropping: Never crop your horizontal video to fit vertical spaces. It ruins the purpose of shooting wide. Instead, use Posts rather than Stories for horizontal content.
-
Native Instagram solution: Instagram's built-in tools work better than third-party apps. Apps often compress your video and reduce its quality. Stick with Instagram's native features whenever possible.
Common Mistakes to Avoid
-
Choose Reels over standard Posts.
-
Ignore the expand icon.
-
Use the wrong aspect ratios.
-
Over-editing before upload.
Additionally, if bars still appear, check your original video file. Sometimes the issue starts during recording, not uploading.
Best Practices for Instagram Horizontal Videos

Want your horizontal videos to perform well? You can follow these proven strategies:
Post Times Matter
Post when your followers are most active. Instagram Insights shows peak hours. Generally, lunch hours (11 AM - 1 PM) and evenings (7 PM - 9 PM) work well.
Optimize Your Cover Photo
Instagram does not use a fixed thumbnail size, so there is no exact "perfect" dimension like 420×654 pixels. Instead, choose a clear, well-centered frame that looks good when cropped to a square or vertical format.
Make sure the main subject sits in the middle, stays readable at small sizes, and stands out in both the feed and your profile grid.
Frame Your Content Thoughtfully
Leave space on both sides of your main subject. It prevents awkward cropping if viewers watch on different devices. Plan your composition with the horizontal format in mind.
Stabilize Your Footage
Use a tripod or gimbal when shooting. Shaky horizontal videos look unprofessional. Good lighting makes a huge difference, too.
Perfect use cases:
-
Tutorial demonstrations.
-
Landscape scenery.
-
Product showcases.
-
Cinematic storytelling.
-
Behind-the-scenes content.
But do you know how long can Instagram reels be? They max out at 3 minutes. Posts allow longer videos than Reels (up to 60 minutes), depending on account type.
If your feed feels stale, you might want to reset the Instagram algorithm by engaging with different content types. Mix horizontal and vertical videos to keep your audience interested.
Conclusion
Horizontal videos on Instagram don’t have to be complicated. The key is to choose Posts over Reels and use the expand icon.
Remember to shoot in 16:9 aspect ratio for best results. Your videos will look professional and cinematic without those annoying black bars.
Now you know exactly how to post horizontal videos on Instagram. Start uploading your landscape content today. Your followers will appreciate the wider perspective and enhanced viewing experience.
FAQs | Frequently Asked Questions
Do horizontal videos get less engagement on Instagram?
Horizontal videos typically receive less engagement than vertical content because they occupy less screen space in mobile feeds. However, they perform well for specific content types, such as tutorials, landscapes, and cinematic storytelling.
Your engagement depends more on content quality than orientation.
Can you change a video from vertical to horizontal on Instagram after posting?
No, you cannot change a video's orientation after publishing it on Instagram. You must delete the post and re-upload it with the correct orientation.
Always preview your video before sharing to avoid this issue.
Why does Instagram crop my horizontal video?
Instagram crops horizontal videos when you upload them to Stories or Reels because these formats are designed for vertical viewing. Additionally, forgetting to tap the expand icon during upload causes unwanted cropping.
Use Posts for horizontal content to maintain full width.
Can you post horizontal videos to Instagram Stories?
Yes, but Instagram automatically adds borders or a background to fill the vertical space. Your horizontal video appears smaller in the Story frame.
For better results, resize your video to 9:16 before uploading to Stories.