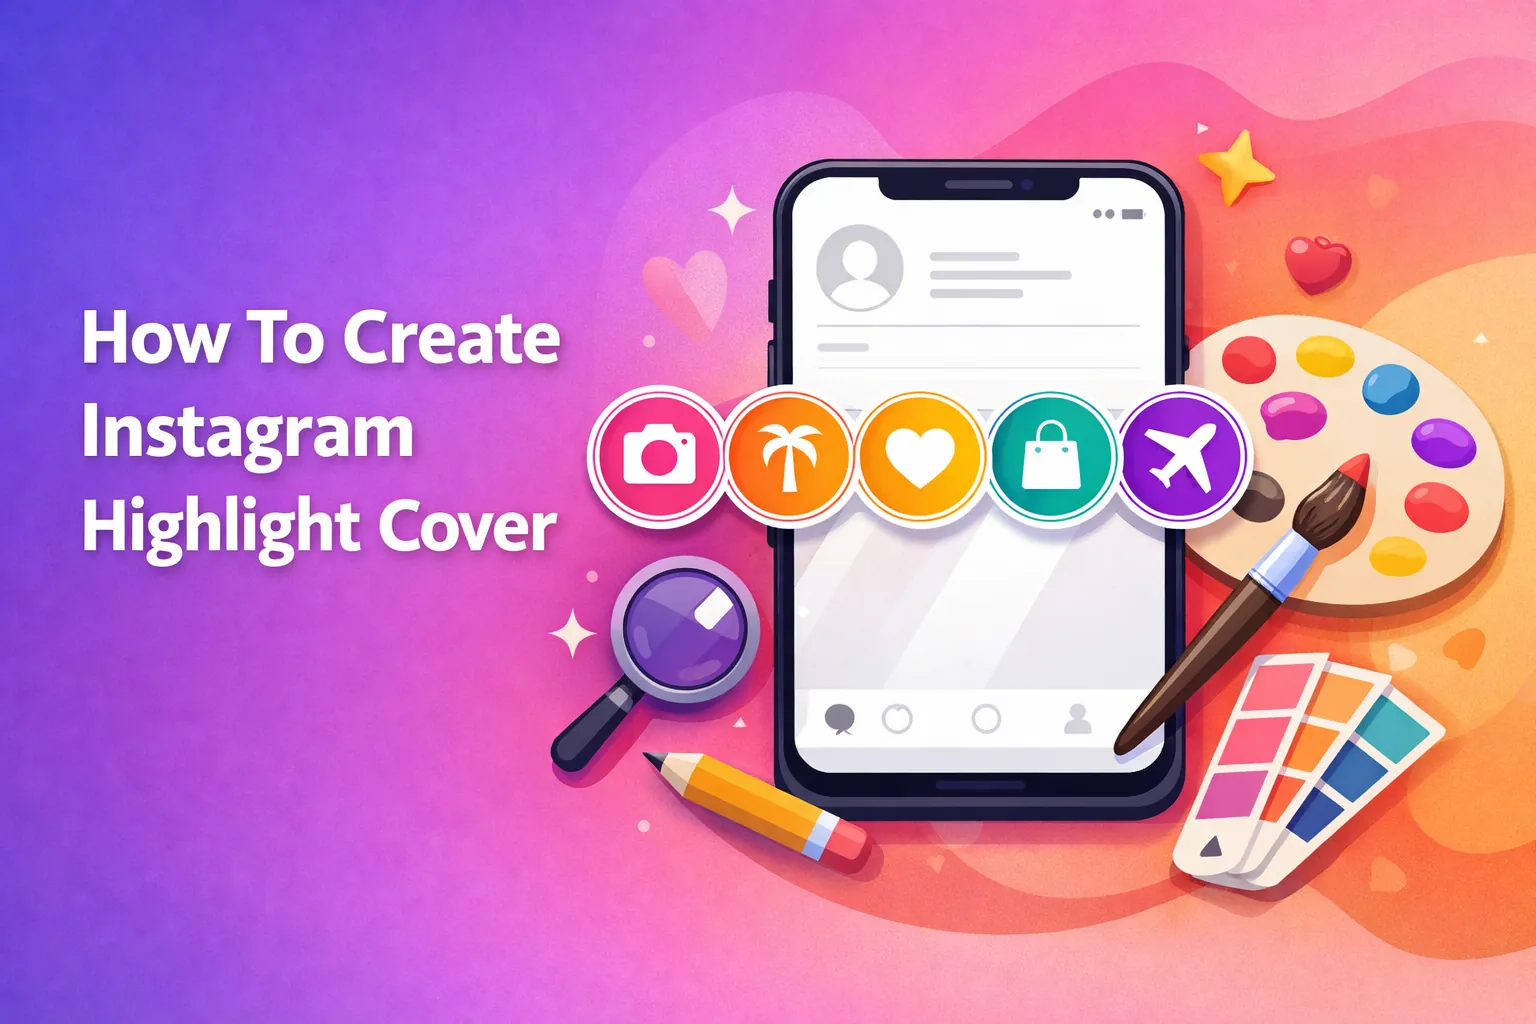
How to create Instagram highlight covers is easier than you think, and honestly, it makes a huge difference. These little circles sit right below your bio, and they're one of the first things people notice when they land on your profile.
I remember when I first added custom covers to my highlights. Suddenly, my profile looked more organized, and people actually started clicking through my content.
Here's the thing: good highlight covers work like signposts. They tell visitors exactly where to find what they're looking for. Now, I’ll walk through how to create them.
Key Takeaways
Instagram Highlight Cover Dimensions and Format
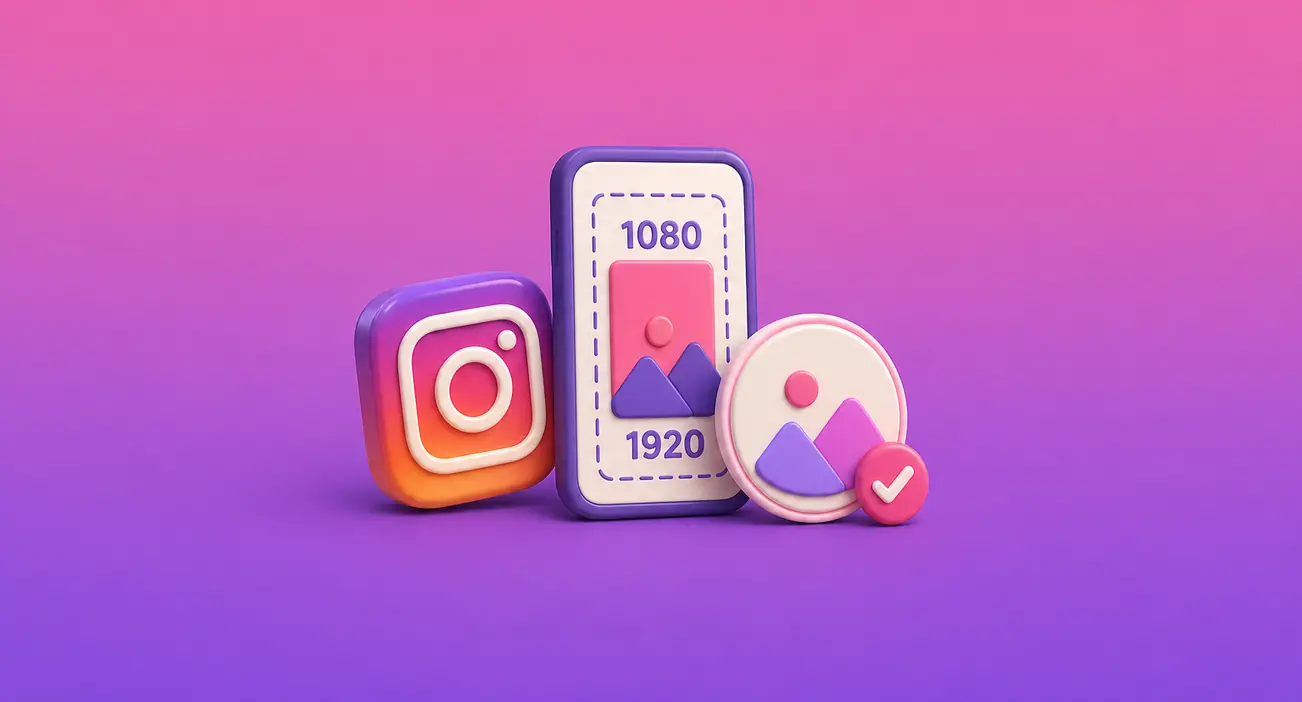
You need to design your covers at 1080 x 1920 pixels with a 9:16 aspect ratio. It matches Instagram's story dimensions perfectly. But you might wonder why you don't use 1080x1080, given that the covers appear circular.
Instagram crops your rectangular image into a circle when displaying it. However, creating at 1080x1920 gives you flexibility if you want to post that same image as a story later.
The circular crop is important to understand. Instagram displays your cover in a small circle on your profile.
Therefore, you need to keep all important elements centered. Think of it this way: only the middle third of your image will be fully visible.
The center area is called the safe zone. Place your icons, text, or graphics within this circular space. Anything too close to the edges gets cut off.
I learned this the hard way when my first set of covers had half the icons missing because I positioned them too far left.
File Format Requirements
You have two main options: PNG or JPG.
Use PNG when:
Use JPG when:
Additionally, make sure your resolution stays high. Low-resolution images look pixelated and unprofessional when Instagram compresses them. Stick with the 1080x1920 dimensions, and you'll be fine.
How to Create Instagram Highlight Covers in 5 Steps
Once you understand the technical requirements, the actual creation process becomes straightforward. I'll break this down into five clear steps that take you from choosing a tool to having finished covers on your profile.
Each step builds on the previous one, so follow them in order for the best results.
Amplify Your Professional Profile Setup
A professional profile starts with polished highlight covers. However, even the best-designed covers need an audience to appreciate them. That's where strategic growth comes in.
We offer a service to buy Instagram followers from real, active accounts with fast delivery. It gives your newly optimized profile the social proof it needs to attract even more engagement.
When visitors see custom covers paired with a solid follower count, they're more likely to hit the follow button themselves.
Optimizing Highlights for Engagement
Your highlight categories should serve a specific purpose for your visitors. For example, behind-the-scenes content builds trust by showing the human side of your brand. Testimonials provide social proof that encourages new followers to engage.
FAQs save time by answering repetitive questions in DMs, and product highlights showcase what you offer without making people scroll through your entire feed. Tips position you as helpful rather than salesy, adding value without pushing a hard sell.
Avoid generic categories like "Fun" or "Random" - they tell visitors nothing about what's inside. Instead, be specific: "Travel Tips" beats "Travel" every time. Similarly, "Client Work" is clearer than "Portfolio."
Moreover, you can see who views your Instagram highlights through insights if you have a business account. The data shows which categories attract the most attention, helping you refine your strategy over time.
Test Cover Visibility

Preview your covers in both light and dark mode before finalizing them. Colors that pop on a white background can disappear completely in dark mode, so open Instagram in both settings to check.
Next, view your design at a small size; zoom out or step back to see the overall layout. Ask yourself: can you still identify the icon or read the text? If not, simplify or enlarge it.
Finally, send your cover designs to your phone to see how they'll appear on Instagram. Desktop previews don't always match the mobile experience; do a final check on the device most people will use: their phones.
Conclusion
If you learn how to create Instagram highlight covers, you can transform your profile from basic to branded. You now have everything you need: the right dimensions, design tools, upload methods, and optimization strategies.
Start with 5 core categories that matter most to your audience. Design them all at once to maintain consistency. Then upload using the close friends method to avoid spamming your followers.
FAQs | Frequently Asked Questions
Can I use photos instead of icons for highlight covers?
Yes, you can use photos as highlight covers. Many brands use product shots or team photos cropped into circles. Just make sure the main subject stays centered so it doesn't get cut off by Instagram's circular crop. Photos work particularly well for personal brands or behind-the-scenes categories.
Do highlight covers affect my Instagram algorithm or reach?
No, highlight covers don't directly impact your algorithm ranking or post reach. However, they improve profile navigation and encourage visitors to explore more of your content. Increased engagement on your profile can indirectly boost your overall presence, as people spend more time interacting with your account.
How often should I change my highlight covers?
Change your covers when your branding evolves or when they no longer match your current aesthetic. Most brands update covers every 6-12 months or during major rebrands. Seasonal businesses might refresh them quarterly. There's no penalty for updating, so refresh whenever they feel outdated.
Do I need a business account to use custom highlight covers?
No, both personal and business accounts can use custom highlight covers. The feature works exactly the same for both account types. But business accounts receive additional benefits, such as access to highlight analytics and insights into which categories perform best with your audience.